Making a Tech Blog with Next.JS, Contentlayer, Supabase, and More
Table Of Content
Building a Tech Blog with Next.JS, Contentlayer, Supabase, and More
Hi there! This is my very first post :) I started this blog to share new and exciting technology surrounding Cloud Technology, DevSecOps, and Artificial Intelligence. I knew with my website though I didn't want to use Wix, SquareSpace, or any website builder or template to fully support the notion I am a competent programmer (lol).
From a young age, my enthusiasm for engineering has been a core part of my identity. My journey with technology began early, influenced by my father who is an incredible engineer, distinguished professor and my role model. His work in robotics and mechatronics started my curiosity igniting a deep-seated passion for science and technological innovation.
Over the years, I have dedicated myself to honing my skills in various technological fields. This journey has involved disciplined learning and a consistent focus on enhancing my technical expertise. With a decade of experience in the tech industry now, my career has spanned a diverse range of sectors: game, website, application and fullstack development, cloud computing, DevSecOps, artificial intelligence, and cybersecurity. This extensive experience has not only broadened my skill set — it also reinforced my profound passion for learning and contributing to innovation.
I continue to be driven by an insatiable curiosity, which is why I wanted to start this blog!
The Requirements, Then the Tools
Tool lists are boring without the constraints that produced them, so here were mine, in priority order:
- SEO as a hard requirement — a blog nobody can find is a diary. That means server-rendered or pre-rendered HTML, correct metadata and Open Graph tags on every page, structured data, and a sitemap. This constraint alone eliminates purely client-rendered React.
- Content as files, not a CMS — I wanted posts in Git: versioned, reviewable, written in my editor, with zero risk of a CMS vendor sunsetting my archive. That pointed to Markdown/MDX and away from headless CMS platforms.
- Aesthetics and animation without paying for it in performance — animations that live on the compositor, images that are optimized at build time, and a Lighthouse score I'm not embarrassed by.
- At least one technology I didn't already know — this project was also my TypeScript learning vehicle. A side project that teaches you nothing is a missed opportunity.
With all this in mind: Next.JS/React with Tailwind CSS and framer-motion on the front, Contentlayer for the content pipeline, Supabase for the database, and Mailchimp for the newsletter.
Next.JS: The Rendering Decision
Next.JS is the React framework for the web, created by Vercel — founded by Guillermo Rauch, creator of Socket.IO (which made me fan girl just a little). But "I chose Next.js" undersells the actual decision, which is which rendering mode to use for which page. Next gives you a spectrum, and using it well means matching each page to the cheapest mode that satisfies it:
- Static Site Generation (SSG): the page is rendered to HTML once, at build time, and served from a CDN forever after. This is the correct mode for blog posts — the content changes only when I commit, so there is no reason to render it more than once. Every post on this site is SSG'd: at build time, Next calls
generateStaticParams()with every slug Contentlayer knows about and pre-renders the lot. - Server-Side Rendering (SSR): the page is rendered per request. Necessary when content is personalized or changes constantly; wasteful for content that changes weekly. I use it nowhere on this site, deliberately.
- Client-side rendering: reserved for the bits that are genuinely dynamic per-visitor — like the view counter, which hydrates after page load and talks to Supabase from the browser.
The SEO payoff of pre-rendering is mechanical, not magical: crawlers receive complete HTML with real <title>, meta description, Open Graph tags, and JSON-LD structured data (each post on this site emits a NewsArticle schema), instead of an empty <div id="root"> and a promise. Add the automatic per-route code splitting, build-time image optimization with proper srcset generation, and font optimization, and the framework is doing most of the Core Web Vitals work for me.
import { allBlogs } from "contentlayer/generated";

// Build-time: tell Next every post that exists, so each becomes static HTML
export async function generateStaticParams() {
  return allBlogs.map((blog) => ({ slug: blog._raw.flattenedPath }));
}

// Per-page metadata, generated from the post's own frontmatter
export async function generateMetadata({ params }) {
  const blog = allBlogs.find((b) => b._raw.flattenedPath === params.slug);
  return {
    title: blog.title,
    description: blog.description,
    openGraph: { title: blog.title, images: [blog.image.filePath] },
  };
}
Contentlayer: Content as Type-Safe Data
Contentlayer is the piece that turns a folder of MDX files into something a TypeScript application can trust. Every post is a file with YAML frontmatter (title, description, publish date, tags), and Contentlayer validates each one against a schema at build time — so a missing description or a typo'd date is a build failure on my machine, not a broken page in production. Since content errors are caught where code errors are caught, content effectively is code.
The part I find genuinely elegant is computed fields — derived data generated during the build rather than maintained by hand:
- the URL slug, derived from the file path
- estimated reading time, computed from word count
- the table of contents, extracted by running a regex over the raw markdown headings
And because I write in MDX (markdown that can embed JSX), posts can include live React components — every image in this post is Next's optimized <Image> component, dropped straight into markdown. Under the hood the pipeline is standard unified-ecosystem machinery, declared in one config: remark-gfm for GitHub-flavored markdown (tables!), rehype-slug and rehype-autolink-headings so every heading is linkable, and rehype-pretty-code running the Shiki highlighter — the same TextMate grammar engine VS Code uses, which is why the code blocks here look like an editor rather than a approximation of one, with zero client-side highlighting JavaScript shipped.
Supabase: A Real Database for a Mostly-Static Site
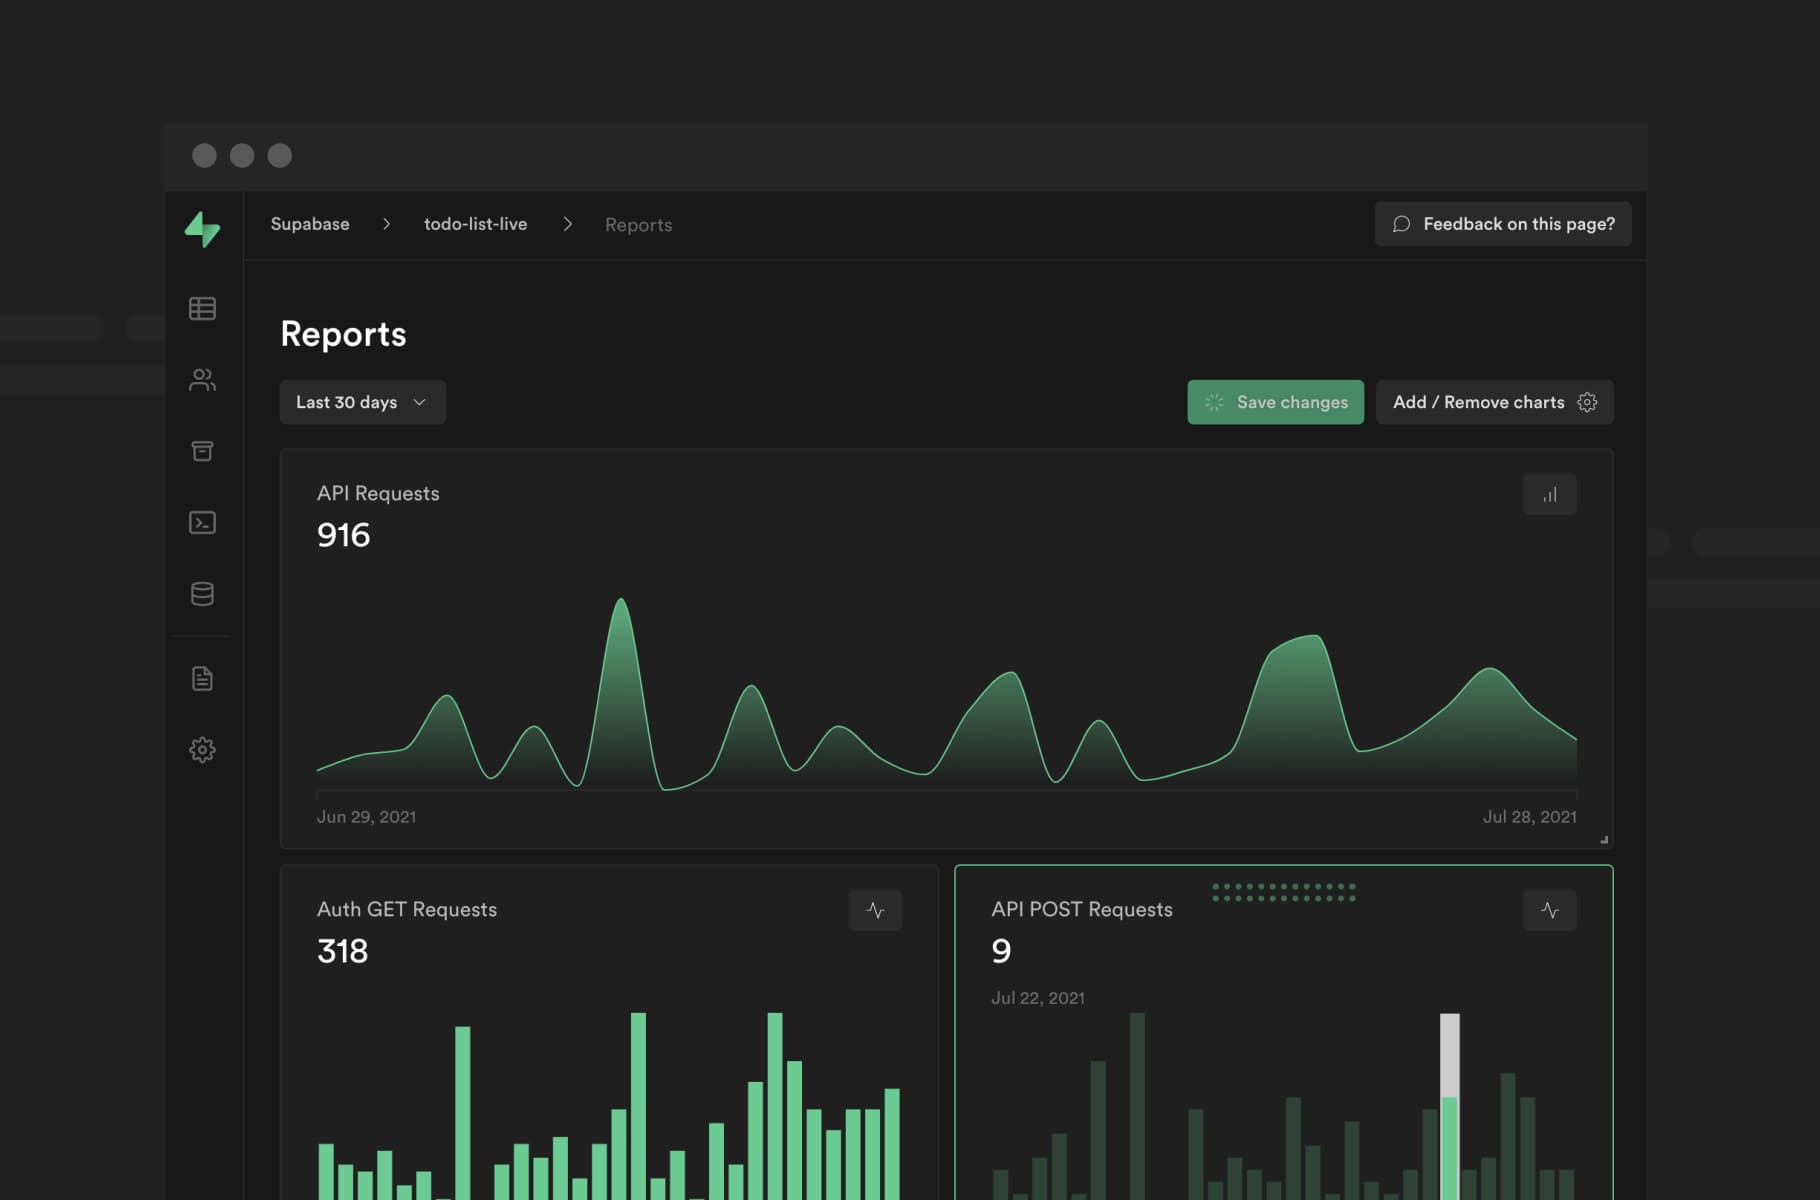
Supabase is an open-source Firebase alternative built on PostgreSQL — a real relational database with a generous free tier, an auto-generated REST API, and row-level security. On a blog this size, its job is focused: it holds the data that can't be static, chiefly the per-post view counters.
The view counter is a nice little case study in doing a small thing correctly. The naive version — read the count, add one, write it back — has a race condition: two simultaneous visitors read the same value and one increment is lost. The correct version pushes the increment into the database as a single atomic operation, via a Postgres function exposed through Supabase's RPC interface:
create or replace function increment(slug_text text)
returns void as $$
  insert into views (slug, count) values (slug_text, 1)
  on conflict (slug) do update set count = views.count + 1;
$$ language sql;
One ON CONFLICT upsert: creates the row on a post's first-ever view, atomically increments it forever after, no read-modify-write window at all. The client component fires this once on mount and separately fetches the current count to display. It's a tiny feature, but the shape of the solution — move contended writes into the database, where atomicity lives — is the same shape that matters at much larger scales.
Supabase also brings authentication, storage with a CDN, and real-time subscriptions — none of which this blog needs yet, which is itself part of the appeal: the platform has room for the site to grow into without a re-architecture.
Frontend: Tailwind CSS and Framer Motion
Tailwind CSS is a utility-first CSS framework, and the honest pitch for it is about maintenance, not speed of writing: utilities keep styling colocated with markup (no orphaned CSS files whose selectors may or may not still match anything), and the build's purge step means the shipped stylesheet contains only the classes actually used — a few kilobytes, no matter how large the design system behind it. Dark mode on this site is Tailwind's class strategy plus a small script that runs before first paint to read the stored preference — the difference between a site that remembers your theme and one that flashes white at you first.
Framer Motion handles animation with a declarative API, and the performance rule I follow with it is simple: animate only transform and opacity — properties the browser can composite on the GPU without triggering layout or paint. Scale and translate freely; never animate width, height, or top. Respecting that line is most of the difference between animation that feels expensive and animation that's free.
import { motion } from "framer-motion";

return (
  <motion.button
    className="bg-accent text-light font-bold py-2 px-4 rounded"
    whileHover={{ scale: 1.1 }}
    whileTap={{ scale: 0.9 }}
  >
    Click Me
  </motion.button>
);
Mailchimp rounds out the stack for the newsletter — email is the one distribution channel no algorithm can take away from you, and starting the list on day one costs nothing.
What I'd Tell You If You're Building One
Three lessons from the build, free of charge. First, the architecture above — static rendering, content in Git, dynamic bits isolated to small client islands — means hosting is nearly free and there is no server to patch, scale, or wake up for; a blog is the perfect workload for the static-first model. Second, type-safe content sounds like overkill until the first time a schema validation catches a frontmatter typo that would have silently broken a page — build-time failure is a gift. Third, and this is the one nobody believes until they live it: the stack is the easy part. The hard part is writing the posts. Choose tools boring enough that they never give you an excuse not to.
Thank you for reading my first blog post! To connect with me, visit my Contact page or click any of the social media links :)
Have a great day learning!